
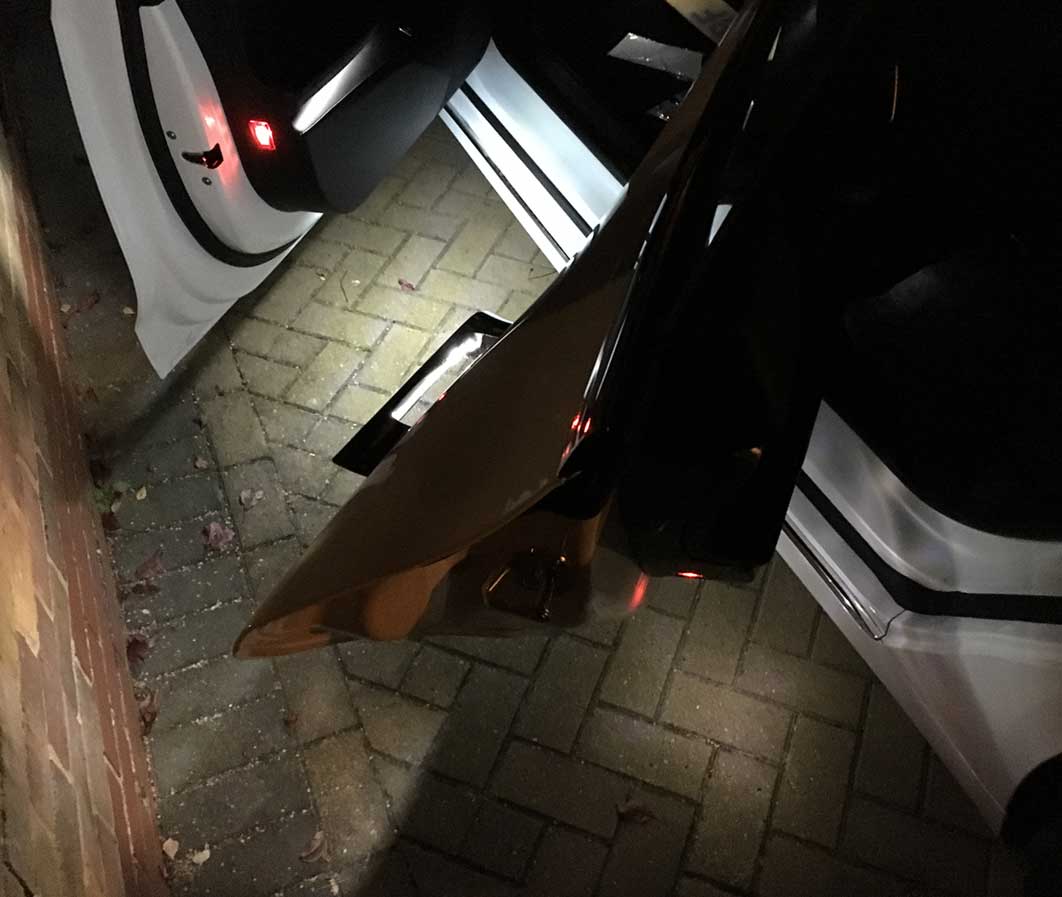
Thanks to Chris Griffin’s recommendation (photo above) I picked up some Abstract Ocean replacement LED lights, here is the install process.
Note: Abstract Ocean have a full install guide if you’re confused, don’t follow my advice and then blame me for breaking your Tesla 😉
The original bulbs are OK but they certainly could be improved, having multiple brightness settings would be ideal IMO.
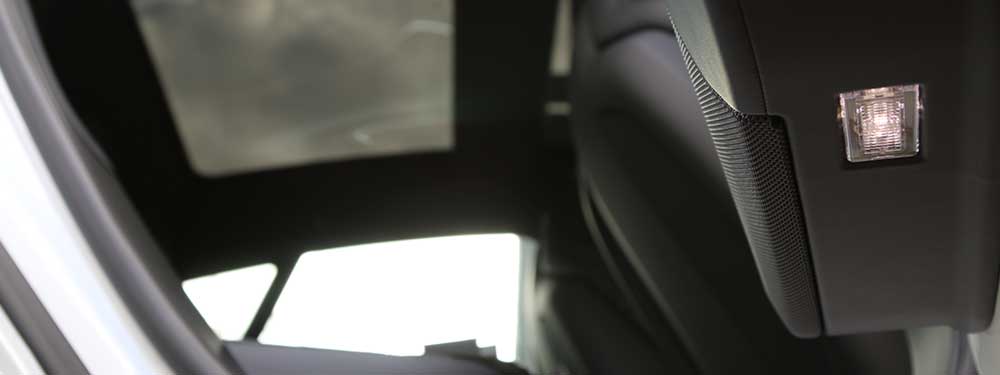
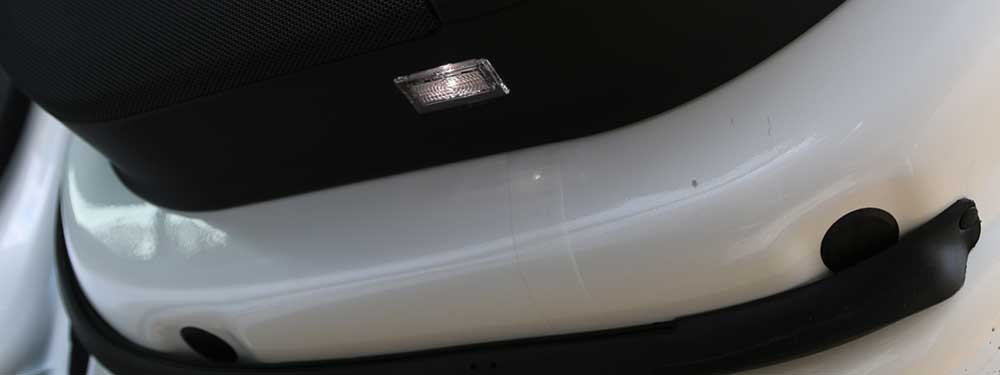
I grabbed a blanket and kneeled down to take a look at the locations, one on each door (certainly on my car with Premium Pack)
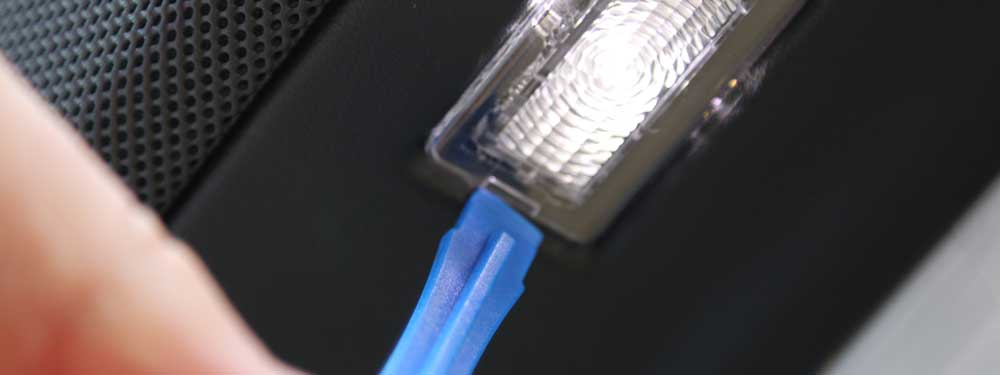
One side seems to be easier to pull out than the other, there is a slight recess to get your tool behind.
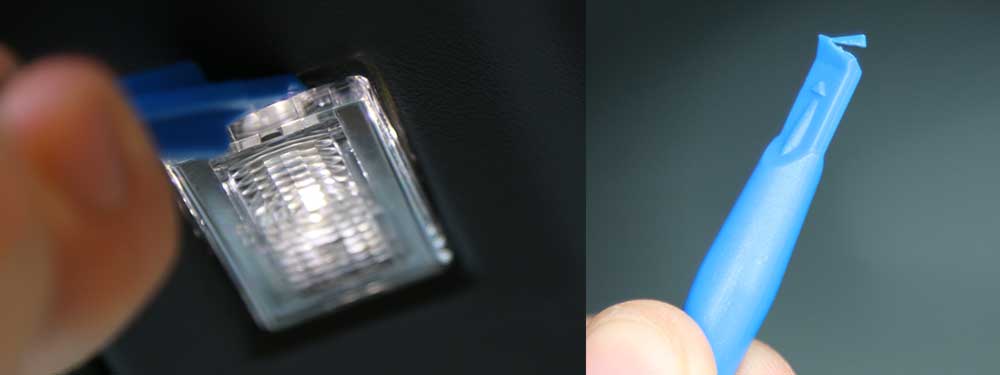
Some of the clips were a little bit more difficult to get into, this snapped one of my trim removal tools (my fault I should have been using something stronger).
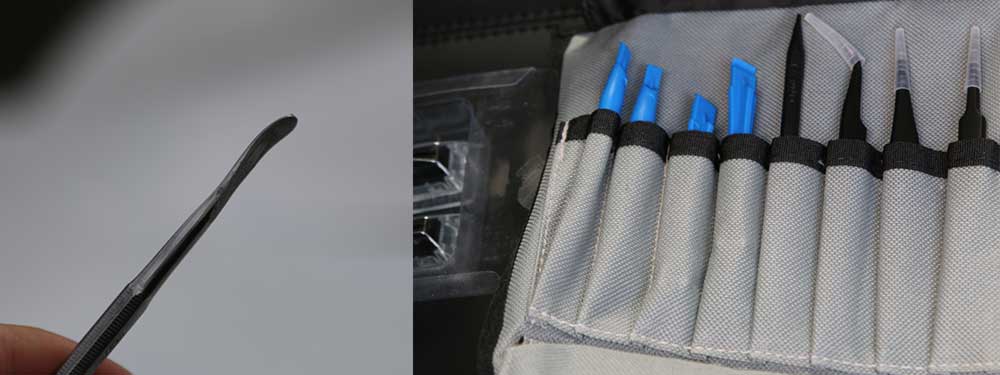
My iFixit Pro Tech Toolkit came in handy here as it also has a metal ‘thingy’ that is curved and good for removing these, although be careful you don’t damage the materials of the door frame.
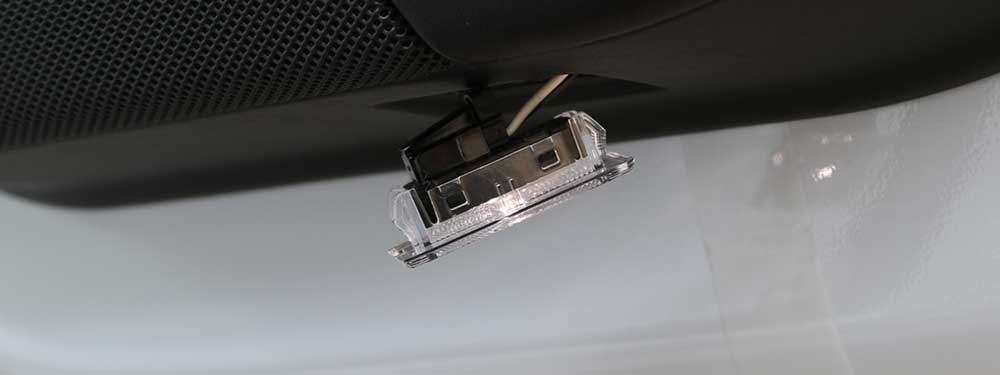
The LED enclosure just drops down, you can see the 2 small clips on each end of the light enclosure, once released it is held in place with the cables.

The cable has a clip which clips into the light enclosure to remove the wire push down with your finger nail (or pry tool) and pull the cable (gently) and it should pop out. Reverse the process for installing.
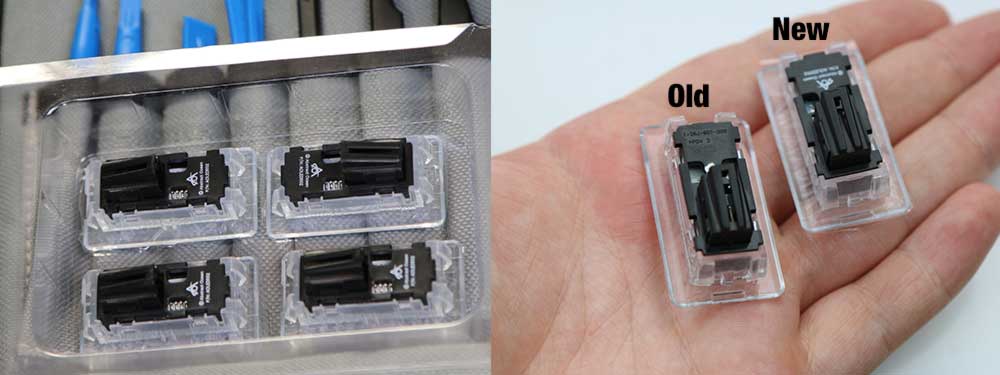
These are Abstract Ocean ones (4 pack image & ones titled ‘new’) they’re pretty much identical to Tesla OEM LEDs (titled ‘old’) apart from the fact they’re as much as 16x the brightness.
I clipped the wires back into the new LED housing and then clipped that back into the door. A very simple process once you’ve done the first one.
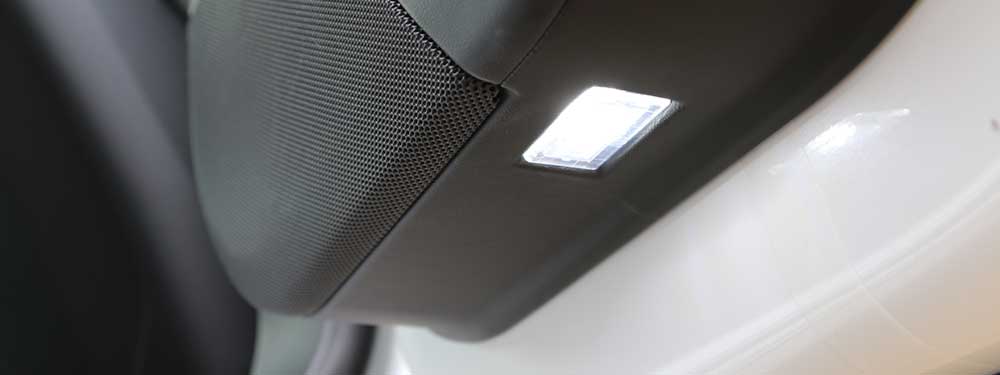
Before and after photos (top is with the new lights, the bottom door is with the OEM Tesla LEDs).